PayUMoney is a payment gateway for Indian non-profits to accept donations.
Installation
PayUMoney is available as a paid extension for Charitable. If you have not purchased it yet, click here to see pricing options.
Once you have purchased the plugin, installing Charitable PayUMoney is the same as installing any other Charitable extension. If you’re not sure how to do that, we recommend first reading our guide to installing Charitable extensions.
Setting it up
After you have installed and activate PayUMoney, there are just a few things left to do to get started. We assume that you have already created a merchant account with PayUMoney.
- Go to Charitable > Settings.
- Click on the Payment Gateways tab.
- You will see PayUMoney listed as one of the gateway options. Click Enable Gateway to activate it.
- After the page reloads, you will see a new button called Gateway Settings. Click this.
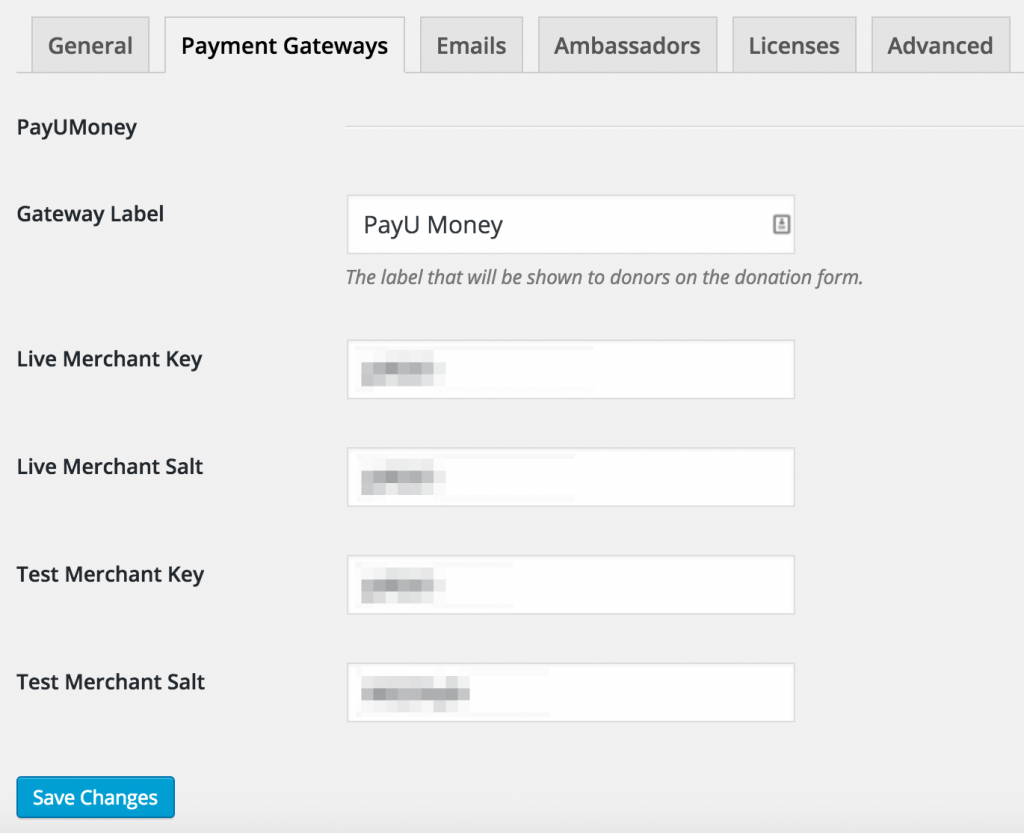
- On the following page, you can add your license keys, as well as setting the gateway label (this is what donors will see when choosing their payment method):

PayUMoney gateway settings in Charitable - When you have finished adding your settings, click Save Changes.
Note: To use PayUMoney, your currency must be set to Indian Rupees since PayUMoney will treat all donations as if they are in Rupees. If your currency is not set to INR yet, you will be prompted to change this on the settings page.
