With Charitable Fee Relief, you can allow your donors to cover the processing fees when they donate.
Installation
Installing Charitable Fee Relief is the same as installing any other Charitable extension. If you’re not sure how to do that, we recommend first reading our guide to installing Charitable extensions.
Setup
Once you have activated Fee Relief, go to Charitable > Settings > Extensions to configure the plugin settings.
Gateway settings

By default, Fee Relief is disabled for all gateways. To enable it for a gateway, click on the “Enable Fee Relief” button.
Next, you can set a fee as a combination of a percentage and a fixed amount per donation. These settings are designed to correspond to the way many payment gateways set their fees.
For example, PayPal commonly charges 2.9% and ¢30 per donation. To cover the PayPal fee, then, you would enter 2.9 in the “Fee %” field and 0.30 in the “Fixed amount per donation” field.
Default fee relief mode

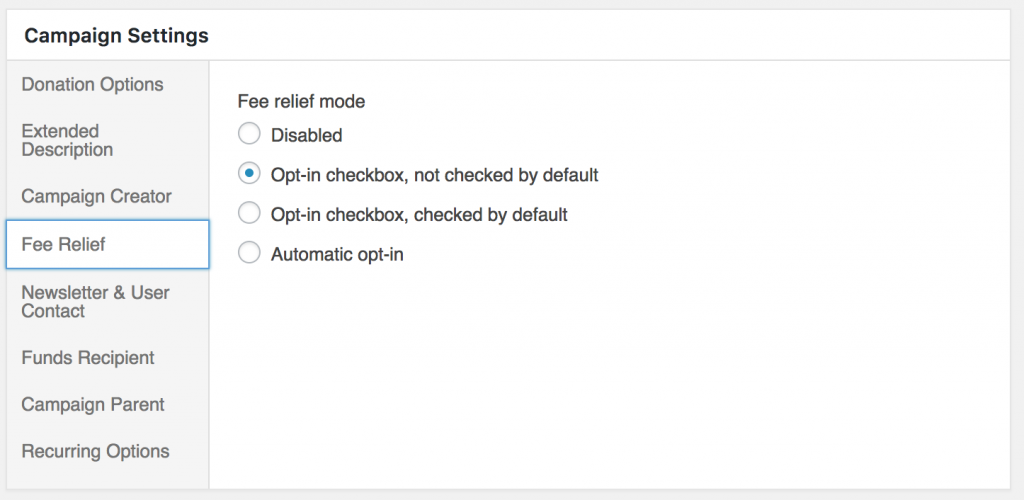
Fee Relief supports several modes:
- Disabled: Fee Relief is not enabled on campaigns by default. Enable it for specific campaigns via the campaign settings.
- Opt-in checkbox, not checked by default: Show an un-checked checkbox in the donation form. The donor must deliberately check the box to pay the processing fees.
- Opt-in checkbox, checked by default: Show a checked checkbox in the donation form. Unless the donor un-checks the box, they will pay the processing fees.
- Automatic opt-in: Automatically add the processing fees onto the donation total, without displaying a checkbox in the donation form. The donor cannot opt-out of paying the processing fees.
Campaign settings

You can change the mode used for a particular campaign in the campaign edit page. In the Campaign Settings meta box, click on “Fee Relief”.
More Documentation
- Developer hooks
