When I started chatting to nonprofits about their online fundraising system, many mentioned the same problem: the fundraising platform they used did not give them enough control.
Too often, they were set up as a one-size-fits-all solution.
As we began developing Charitable, we knew that we wanted to give users a way to tailor it to their needs. A year and a half on, we have seen that decision validated again and again.
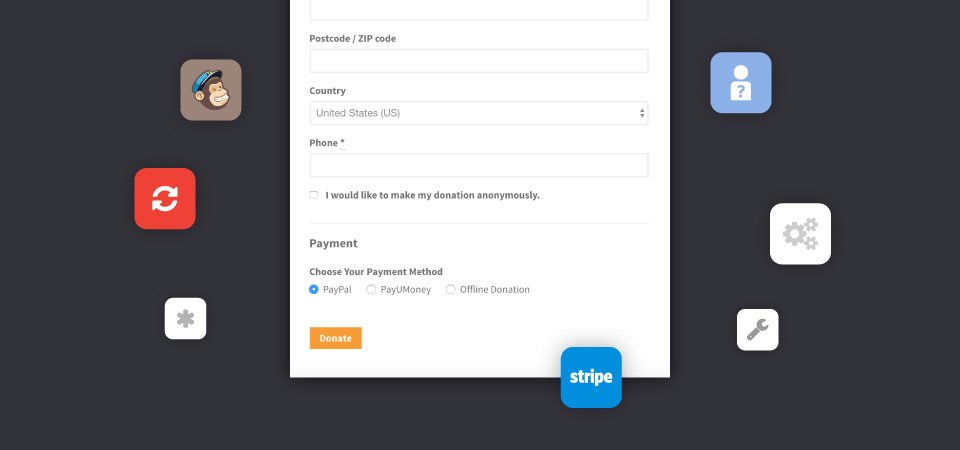
In this post, I’ll show you six easy ways you can customize the donation form that is added by Charitable — all without writing any code.
Charitable is the top-rated WordPress donation plugin. Best of all, you can get it for free! Click here to start now.
6 Code-Free Ways to Tweak Your WordPress Donation Form
1. Only show required fields
By default, the donation form includes a few required fields for the donor’s name and email address, and a bunch of non-required fields for the address. Did you know you can completely remove those non-required fields from the donation form? Here’s how.
- Open the WordPress Customizer by clicking the paintbrush icon in the admin bar or by going to Appearance > Customize in the WordPress dashboard.
- Click on the Charitable tab.
- Next, click on Donation Form. If you don’t see this listed, try navigating to a Charitable donation form in the preview window.
- Set the “Only show required fields” option to “Yes”.
2. Change any field’s label
Sometimes, the label used for a particular field in the donation form isn’t right for your needs. Need the “State” field to be a “Province” field? Or want to replace “Postcode / ZIP code” with just one or the other?
You can change this with a little bit of code (I’ll show you how further on), but for now I’d like to show you a sneaky way you can do this without writing any code.
Meet Loco Translate. As the name suggests, it’s a translation plugin; but even if you’re using WordPress as an English speaker, it gives you an easy way to change the default text added by plugins like Charitable. All you need to do is activate the plugin and create a “translation” of Charitable into English. You will be able to easily change any text added by Charitable, without leaving your WordPress dashboard.
3. Allow donors to subscribe to your newsletter
Another easy one. With our Newsletter Connect plugin, you can connect your MailChimp or MailPoet newsletter list to Charitable. Once you have linked your newsletter, donors can opt in to start receiving your newsletter when they make their donation.
4. Allow donors to remain anonymous
This one’s easy. All you need is our Anonymous Donations plugin. Buy it, download it, install it, activate it — you’re done.
Read more about anonymous donations here.
5. Accept credit card donations directly on your website
PayPal is great, but it does result in donors being redirected away from your website — and unfortunately that can lead to donor confusion or even drop-off. Adding a credit card form to your website is a smart way to avoid that problem, while giving you a more professional donation experience.
To start accepting credit card donations, you can use either our Stripe or Authorize.Net extension. You will also need an SSL certificate if you don’t have one already.
6. Allow your donors to pay the donation fee
This is a great way to boost your online fundraising revenue, and it’s easy to get set up.
The Fee Relief extension gives you all the tools you need. Install the plugin, then set up how the fee should be calculated, and your donors will be ready to start pitching in to cover the fees charged by your payment gateway.
Customizing your WordPress donation form, the easy way
With Charitable you can customize your WordPress donation form easily, without writing code, using off-the-shelf tools that are designed to help your non-profit collect donations.
Using WordPress and want to start collecting donations with Charitable for free?
[ninja_form id=’48’]


Leave a Reply