This documentation applies to Charitable Ambassadors versions before 2.0. For the current documentation, see:
Charitable Ambassadors
Charitable Ambassadors transforms your website into a peer-to-peer fundraising or crowdfunding platform.
Installation
Installing Charitable Ambassadors is the same as installing any other Charitable extension. If you’re not sure how to do that, we recommend first reading our guide to installing Charitable extensions.
Creating the Ambassador Pages
Once Charitable Ambassadors is installed, you need to create two new pages. In addition, you should set up the login, registration and profile pages.
Campaign Submission Page
- Click Pages > Add New.
- Inside the content area of your page, add this shortcode:
[charitable_submit_campaign] - Add a title to your page and click Publish.

My Campaigns Page
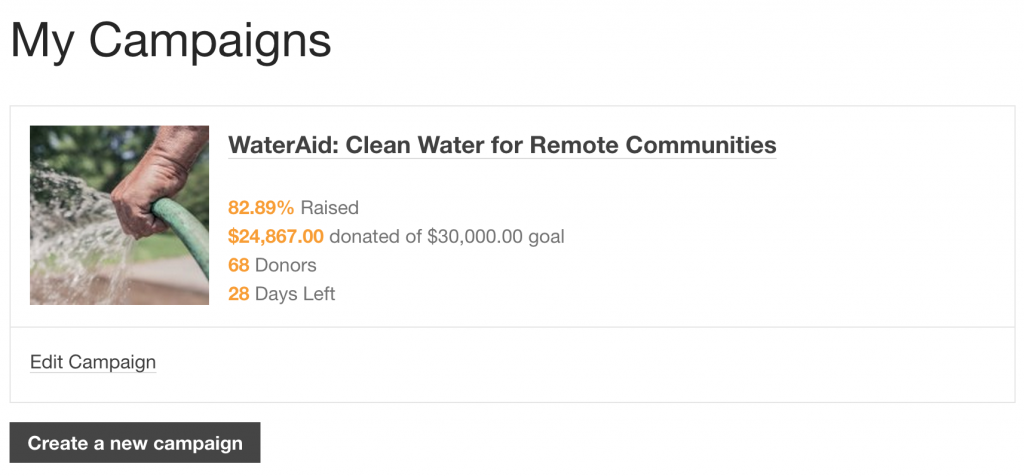
This creates a page that will be accessible to logged in users and allows them to see a list of their campaigns.
- Click Pages > Add New.
- Inside the content area of your page, add this shortcode:
[charitable_my_campaigns] - Add a title to your page and click Publish.

My Donations Received Page
This creates a page that will be accessible to logged in users and allows them to see a list of donations they have received towards their campaigns.
- Click Pages > Add New.
- Inside the content area of your page, add this shortcode:
[charitable_creator_donations] - Add a title to your page and click Publish.
Update Charitable Settings
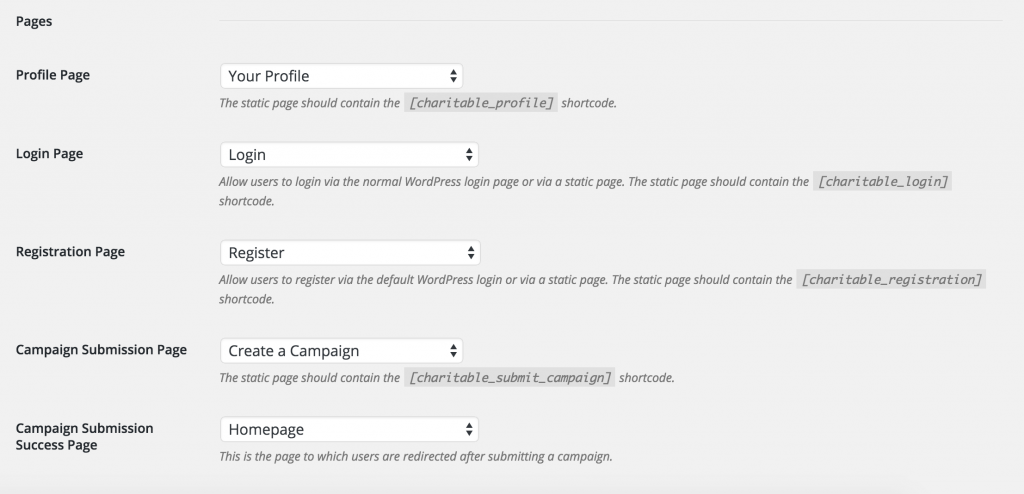
After creating all of these pages, you can go to the Charitable settings area to link each of them to their corresponding setting.
- Go to Charitable > Settings.
- Inside the General tab, scroll down to the Pages section. For each setting, select the page you just created. For the “Campaign Submission Success Page” section, choose a page that you would like your users to be redirected to after submitting a campaign.
- Click Save Changes.

Submission Form Settings
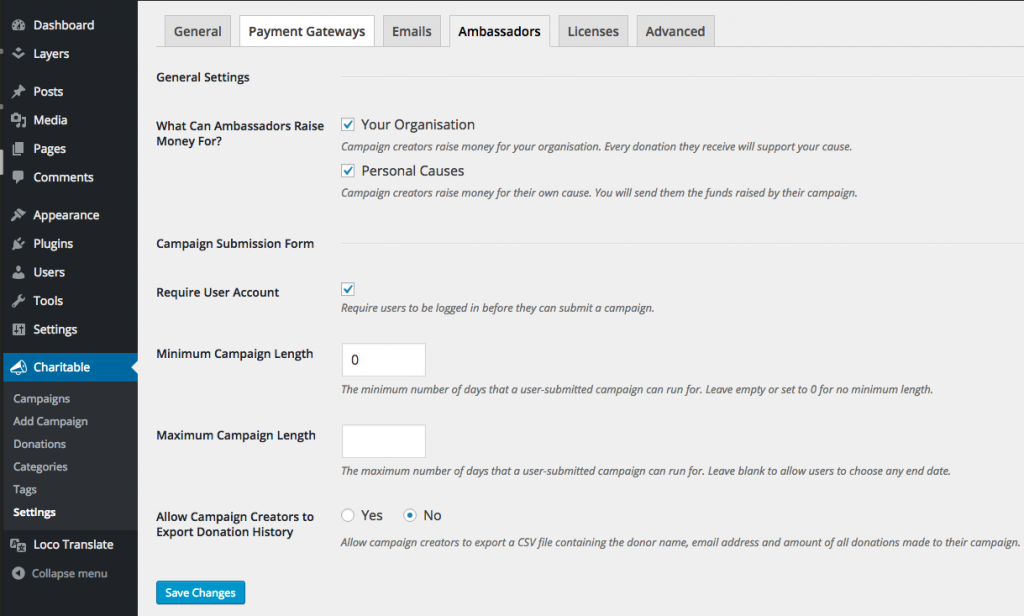
After setting up your pages, you can set up rules for your campaign creators.
- Still within the Charitable settings area, click on the Ambassadors tab.
- You will see settings like what is pictured below:

- After updating your settings, click Save Changes.
